Today we looked at the basics of creating terrain inside of Unreal Engine.
The Unreal Engine documentation has recommended sizes for terrains, depending on what you’re doing, and they’re a good thing to keep in mind – Reference
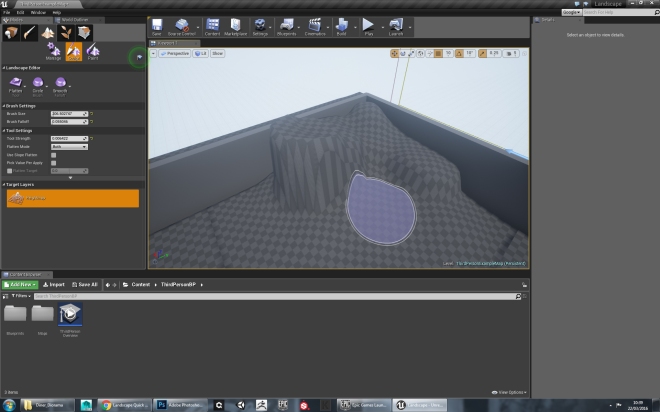
We started by sculpting some rough terrain using the sculpting terrain brushes in UE4:
 We then created some basic roads etc using the amazing Edit Spline tool. This tool is great because it allows you to create a road or path easily, morph the terrain to match it, as well as sweep a mesh along the spline to create a mesh.
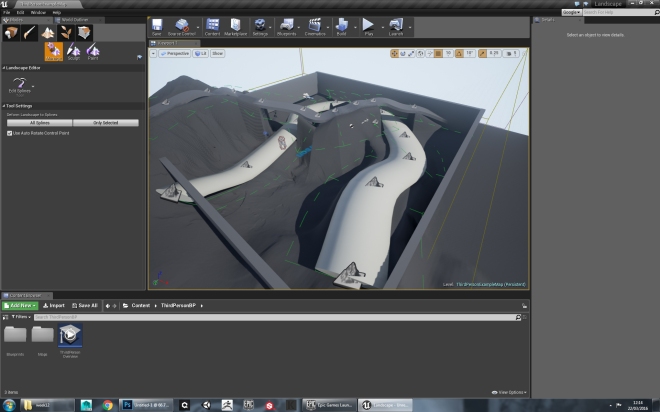
After manually sculpting the terrain, we looked at creating terrain from height maps. We used a Substance Painter substance, and extracted a heightmap from it. We then brought this heightmap into ZBrush, where we masked using the map, and inflated, to create a really interesting shape. We then messed around a little, creating peeks and valleys in ZBrush.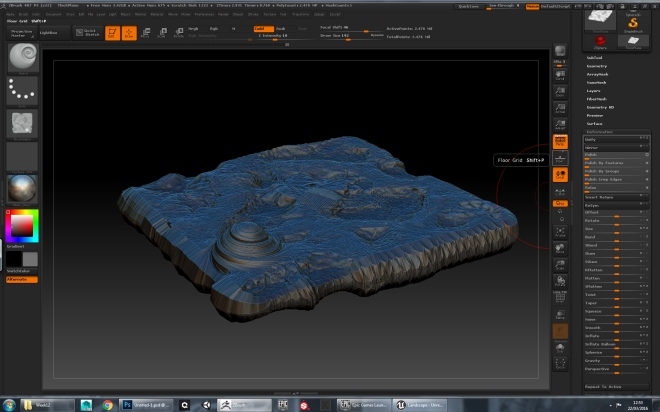 We then exported this as a heightmap (From an orthographic plan, in the Alpha tab, click “Grab Doc” and then “Export”). We then opened this in Unreal Engine, trimmed it to the right size (505×505 in this case) and brought it into UE4 as a heightmap.
 We then painted this terrain, using the terrain painting toolkit in UE4. We created a terrain material, and set up the parameters (similar to what we did for Vertex Painting) where one layer exposes the one below.
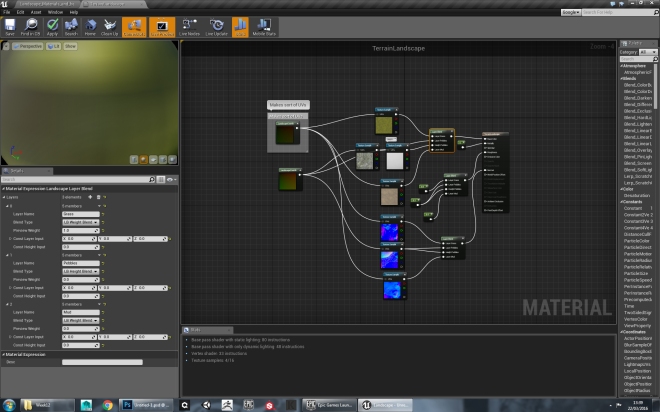
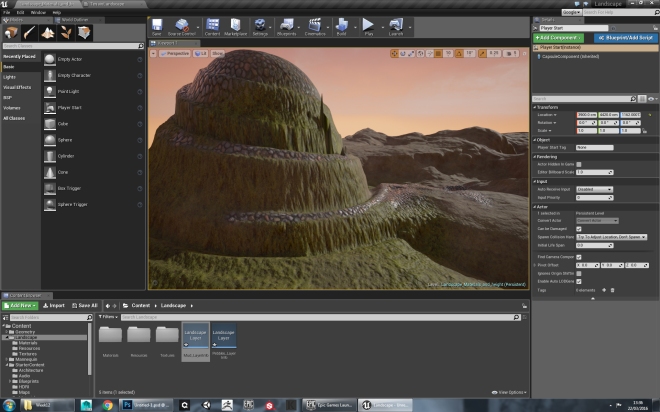 The result is really quick and aesthetic terrain.
I then went on to model some more of my Diner. After talking with simon, we agreed that the walls and ceiling didn’t match some of the references that I had, and so I set out to model the walls, using the Kroll’s Diner (as seen in the TV show Fargo) as a reference. Kroll’s diner has these really interesting curves where the walls meet the ceiling. These break up the shapes, as well as adding really cool and interesting variation in reflection. I modelled them in Maya, and painted them in Substance Painter. I also added a neon light to the top, like in Kroll’s, which will add some really interesting lighting in UE4. I did this via an emissive material, as well as upping the length and radius of point lights in UE4.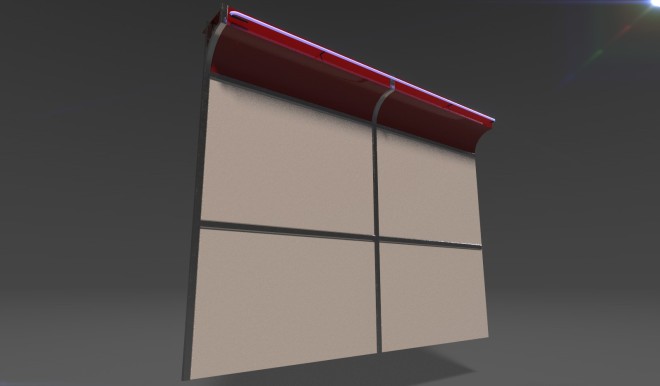
I then brought this into Unreal Engine, and decided it was a good time to start messing with the lighting. I set the main directional light to shine vertically, creating the default night exterior, and then started to play with the lights in Unreal. After a quick lighting test, here it is without any post process effects.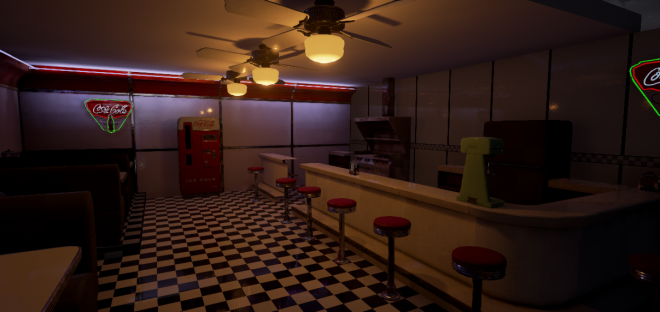
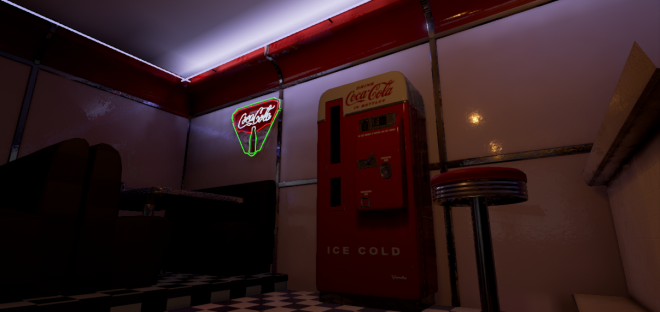 I am pretty happy with the screen space reflections, but there is a log of work to do on lighting. I have decided to do test lighting more as I go, in the hopes that this will evoke more as I work.
Summary: We looked at terrains in Unreal Engine. I corrected my walls, and started lighting my scene for the first time.
