Week 11 – Day 1 -“Advanced Lighting in UE4”

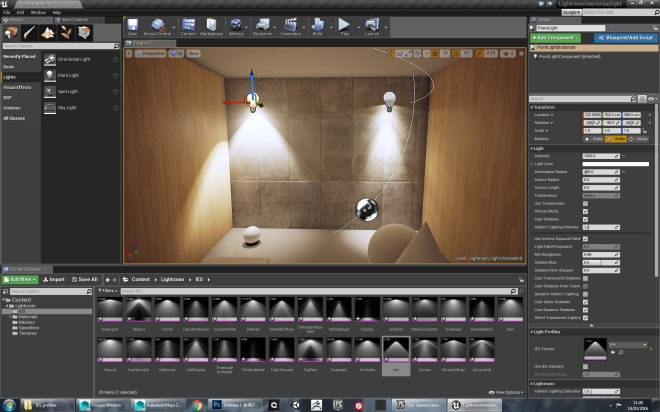
Today we looked at a few more lighting techniques in UE4. We started by opening a lighting demo downloaded from the asset store, which had an amazing looking Arch Viz style scene, demonstrating day and night lighting.

Untitled-1

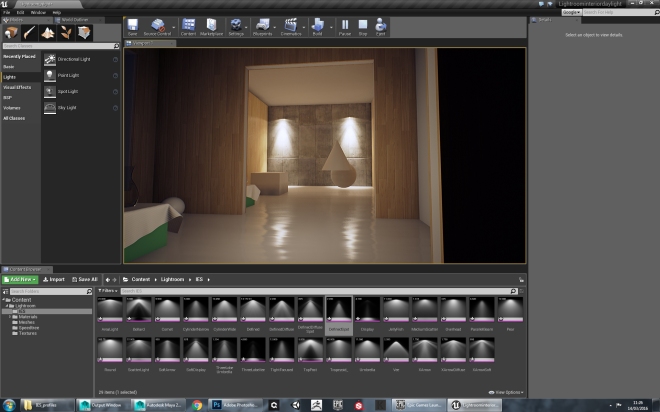
We explored IES lighting systems, which are a more realistic falloff of light, giving a much more realistic, or at least specific feel to the light.

Untitled-2Untitled-3.jpg

We then went on to create a blinking light, using an emissive light material and adapting not using the node editor. The node script we created is was follows, and allow for the light to fade on and off in a seemingly random pattern.


Untitled-4

Click to see fullscreen

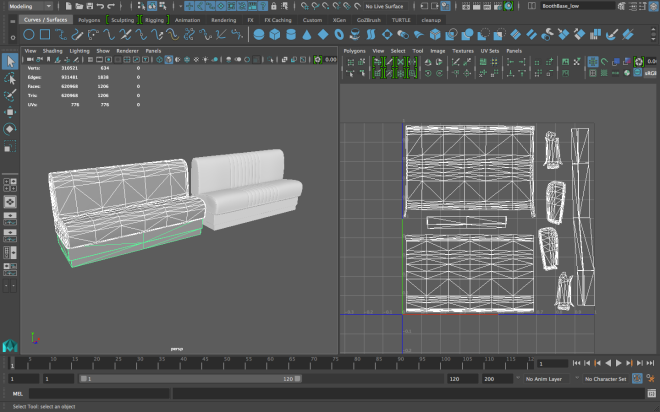
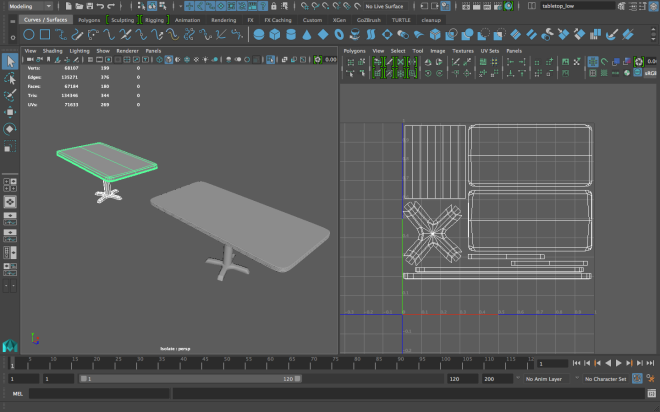
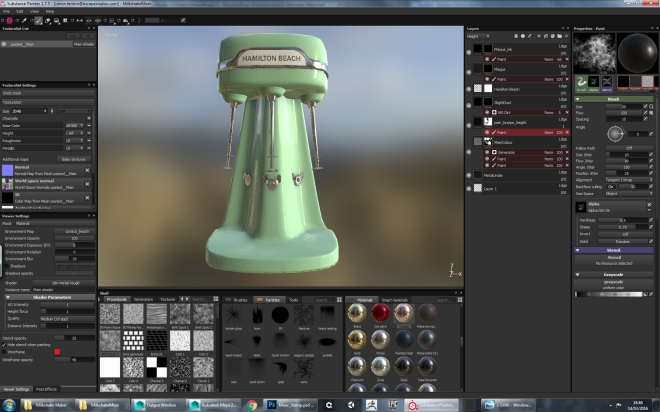
I then went on to paint the material on two of the assets that I organised yesterday – The Milkshake Mixer, as well as the Vending Machine. I did this using Substance Painter. I baked the normal maps from my ZBrush models onto low poly models in Substance Painter, using the naming scheme mentioned previously. The results are much better than I was expecting, and it really makes creating the ZBrush models worth it. It would have been impossible  to get some of the detail it created without ZBrush.

MilkshakeMixer.jpg

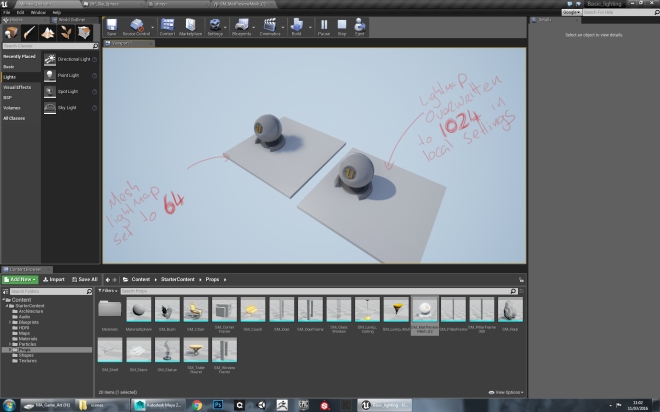
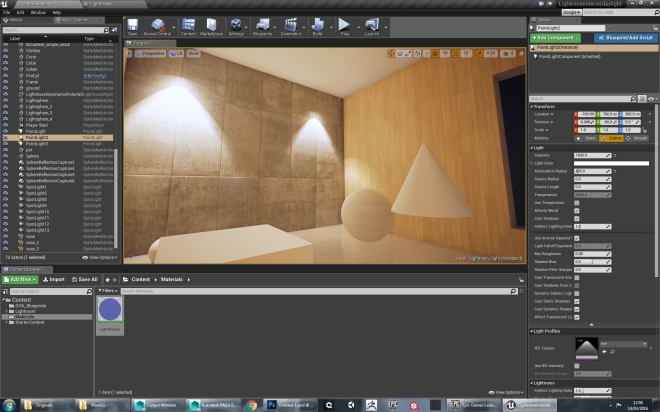
I then brought my first assets into my Unreal Engine blockout scene for the first time to see them in action. It was really cool to see them in the engine. They still don’t have light map UVs so I had to set my lighting to realtime, but that will be solved at a later date.

InUnreal

Summary: We did some more advanced lighting in Unreal Engine, including making a light flicker on and off using emissive materials. I then brought my first game assets (Milkshake mixer and Vending Machine) into my blockout scene in Unreal Engine for the first time.

Week 11 – Day 1 -“Advanced Lighting in UE4”

Week 10 – Day 1 – “Intro to Lighting”

On Friday  we were given a brief intro to lighting in Unreal Engine. Luckily, the lighting system in Unreal is very similar to Unity, so we knew a lot of the stuff already, and so far from the introduction, lighting in Unreal seems the be more user friendly. The only thing I miss is the ability to generate light map UVs automatically, but that is an easy fix in maya.

A cool thing we learned was that when specifying a light map scale, you can do so in two places in Unreal Engine. You can do it as apart of the object itself, or you can override that value for each specific instance. That means that we can put more emphasis on the faces that receive a more interesting or important shadow.

Untitled

Then, over the weekend, I did a couple of key things for my scene. Most of what I did wasn’t very visually amazing, but it was important. I made a checklist of each high-poly ZBrush object that I had already created, and documented whether I had the low poly mesh created, whether it was UVed and whether I had baked the textures or painted them. This was useful because it showed  how far I was, as well as what I had to do. I then made low poly meshes for all of them, and correctly UVed them in preparation for painting the materials on Monday.

Screen Shot 2016-03-14 at 23.01.37.png

Screen Shot 2016-03-14 at 23.03.41.png

Screen Shot 2016-03-14 at 23.35.19.png


Summary : Intro to Lighting in Unreal Engine. And UVing and Low Poly modelling of ZBrush sculpted meshes.

Week 10 – Day 1 – “Intro to Lighting”