Today we did something really cool, and we looked at Post Process Volumes in Unreal Engine 4. Post Process Volumes are exactly what they sound like – Volumes in which we can adjust the post process effects of our games. The good thing about UE4 as opposed to Unity is that they are bound to a box by default, so you can easily trigger a post process effect by simply walking into a volume. In Unity, they were either on or off without code.
There are a couple of notes I thought were really important:
- Priority – you can set the priority of overlapping Post Process Volumes
- Blend Radius – This is the fade of the Volume outside the box. 0 is a sharp transition.
- Scene Colour – gives us the ability to adjust the colour grading, like in Unity.
- Fringe Intensity is basically like chromatic aberration, where the colours spit at the edges.
- Colour LUT like what we used in Unity, can be brought into Photoshop and adjusted to alter the colour grading of our scenes. The LUT is found on Unreal’s Docs ( LUT Texture Example ). NB : Make sure you change the texture group to “Colour Lookup Table”.
- Anti Aliasing – The fringing of harsh edges. This is combatted in Unreal by default, but can be changed as a post process. “Temporal AA” is the best but most expensive to run in game.
- Bloom – Simon says (!) it is a very overused effect, and to use it with caution.
- Depth of Field – Same thing, be wary of overusing, but a little is great! You can visualise the depth of field by going to Show>Visualize> Depth of Field. BokehDOF has a really impressive look, in particular, but is more expensive than Gaussian.
- Ambient Occlusion – Screen space ambient occlusion isn’t baked, like what we have looked at already. It helps to add depth by highlighting cavities and joins.
- Static Fraction – basically, the quality.
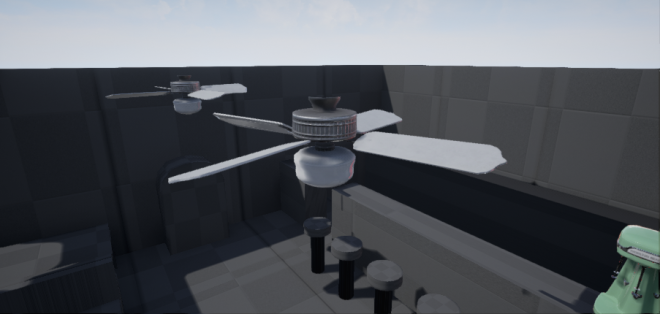
Then we went on to test light a scene, and I also painted the textures for two of my room assets – The Ceiling Fan and the Table Jukebox.
The ceiling fan was pretty straight forward. After baking my ZBrush model onto the low poly in Substance Painter (again, using the _high _low method) I painted it in Substance painter. I created shiny painted surfaces for the blades, created a very shiny and smooth glass-like material for the bulk and then created a rough and aged metal for the motor area. I then created a basic Emissive texture for it, but when I brought it into UE4 it didn’t look great, so that will definitely need more work. 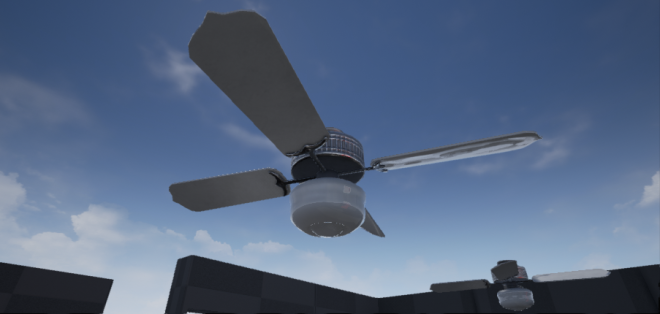
I then went on to texture the table jukebox, which was a really cool and interesting model to paint. Again, I baked using the _high _low method, and the result was pretty good. I then added an opacity channel to Substance Painter where I created a glass texture for the front of the jukebox . I then painted the “strips” on the inside of the glass. Because this was behind the glass, and you can’t hide in Substance Painter, I had to paint this detail on the UV channel as opposed to directly on the model, but that worked very well. I then created an aged chrome-like metal for the main body. Finally I added some decals, like the keypad on the front, the logo on the glass, and the coin insert slot. The decals were created using wither a texture I created in Photoshop as a stamp or a stencil. I couldn’t find the correct font for the logo, so I created something similar in Illustrator.


Summary: We looked at Post Process volumes in Unreal Engine, and I baked and painted my Ceiling fan/light and the table jukebox.
