Date: 29/1/16 and the weekend
Today we approached the topic of materiality in Unity. Unity has it’s own standard PBR shader that is incredibly powerful, but slightly difficult to use. We learned, via Unity’s “Shader Calibration Scene” the different types of material that could be made with this one shader, and how to recreate them.
The main difference here from what we have already learned in Maya is the “Metallic” option, which aims to recreate different metal surfaces. It consists of two sliders, one for the metal-ness and one for the smoothness (or as every other program says, roughness) of that metal. This was relatively straight forward for creating basic all-metal objects, but when creating objects with some metal pieces and some non-metal pieces it became incredibly difficult to figure out. But basically, after ages of trying to figure it out, the Metallic option can take a black and white image into it. This black and white image describes whether an object is metal or not, with metal surfaces being white, and non-metal being black. To then alter the roughness (or smoothness) of the surface you need to create an alpha channel in that metal psd, and in this alpha channel black is rough and white is shiny. While this approach was quite hard to figure out, it’s really quite logical when you think about it, but it will take some time to get used to.
To understand what we learned in class, I decided to alter the TV model that I have been texturing to fit in with this shader in Unity. So I created the Metallic targa file where I decided what parts of the object were metallic, and then in the alpha channel of that file I pasted in the specular map that I created the day before. The end result was a much more realistic object in comparison to the normal specular and diffuse map I created in Maya. 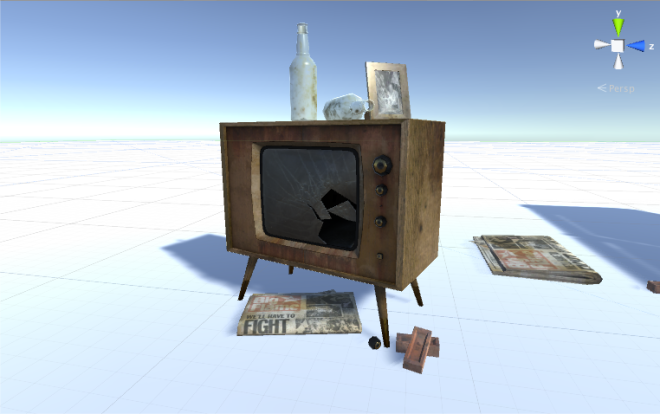
I then went on to texture the chair that I already modelled in the same way : 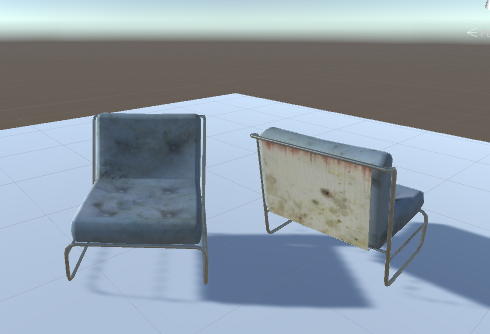
The next thing I modelled was an air conditioning vent that I think will add to the realism of the 1970s room that I am creating. The shape is pretty basic – I basically just made a frame, and used duplicate special to create the internal slats. – but the texturing was the hardest bit. I wanted to make the vent look as aged as possible, adding drip details and rusted and scratched metal where possible.


I then baked ambient occlusion, using the Batch Bake MetalRay function in maya. I did this to add a sense of depth to the interior of the vent. I used the texturing technique learned on Friday again to add a metallic feel to the object inside of Unity. 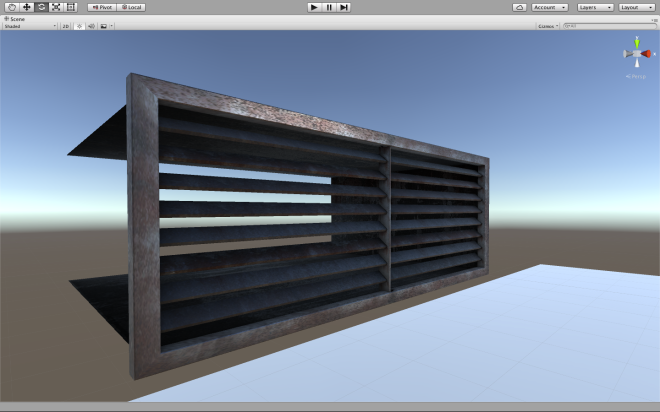 Finally, I went back to re-re-model the walls of the room. I wanted to create the walls, floors and ceiling using just one texture so as to be more efficient. This turned out to be a bit harder than expected as the peeling wallpaper means that the meshes are all different, but the material had to be the same, and still tile correctly. To do this I just created a new wall floor and ceiling section, and then deformed the wallpaper separately before combining them.
 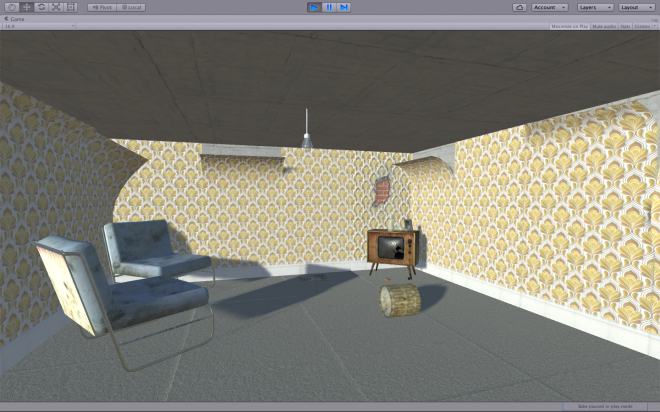 The result is ok, but the repetition on the floor and ceiling are very obvious. This is because of the normal map that I created. Maybe I forgot to turn off the “bevel edge” option in nDo, but that should be an easy fix. Also adding decals will help to hide the repetition.
I then went on to create an exposed brick wall option. This turned out very difficult to do in a low poly setting. I tried to add an alpha map to the peeling wallpaper, and to then expose plaster and brick behind the wall, but the lack of geometry means that the result is very flat. I want to try and create this using geometry to see if it is needs the extra geometry.


Summary:
I learned about the standard Unity shader, and then implemented this new shader into my workflow. The result is much more realistic metals, as well as an ability to create a variety of different metal and plastic types in the same texture, saving in the long run.
