Date: 19/01/16
Today we explored UVing further by UVing the blast door we created earlier. We started by exporting the UV mesh from Maya, and brought that into Photoshop, where we applied various colours and textures to the model. This is an extremely tedious and laborious process, but Simon gave us a great tip that helped a lot – regularly saving the photoshop file and reloading the texture to the Maya object allows you to see your work displayed on the mesh as it should be, which makes it much easier to see how you’re getting on, and to decide whether you need to go into more detail. Manually paining on the photoshop file worked fine, but importing textures from sites like CGTextures was a much more efficient way of getting photorealistic scratches, mould etc into our model. After hours of UVing, this was my final outcome: 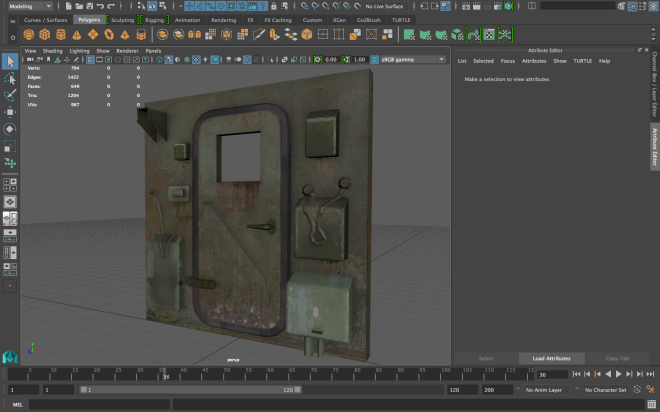 I think I probably added too many small imperceptible details to some parts of the model, and mine time would probably have been better served if I was to texture a bit more generally first, but I am relatively happy with the result.
I then went on to use the UV texturing techniques we learned to texture the torn pillow asset that I modelled previously. This involved laying out the UVs correctly, and bringing this wireframe into photoshop. 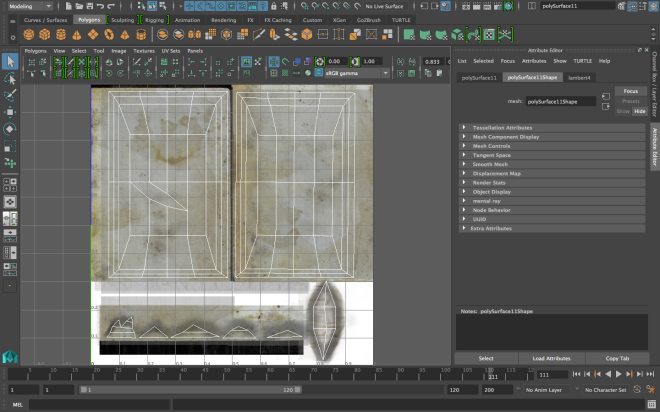 I first applied a general cotton texture that I found on textures.com, and overlayed a crumpled paper texture to try and create a weathered and aged effect. I then overplayed coffee stains and mould textures that I found online to further emphasise the age. To emphasise the tear in the pillow, I added an Alpha to the texture, where I wore away the edges to mimic the torn fabric effect. If this turns out to be too costly in the game, I could easily remove the alpha, but I think it really adds to the effect.


I also filled the inside of the pillow with a torn cotton texture, but the texture is relatively low resolution, and there is slight stretching in the UV layout, so these are things I will have to correct if possible.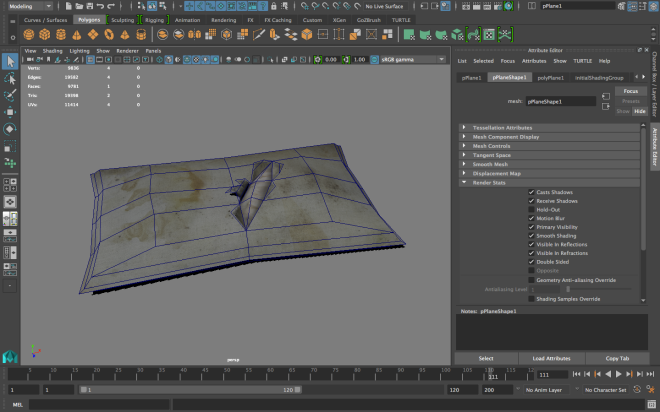
I also modelled a mattress in a similar way:

Summary:
We continued to learn how to properly UV an object, and how to create alphas to add transparency to certain parts of the model.
